

Insights
Illuminating
Ideas
Ideas
Technical deep-dives, architecture decisions, and lessons from real projects. Written by the engineers who build with Flutter, AI, and modern cloud architecture every day.
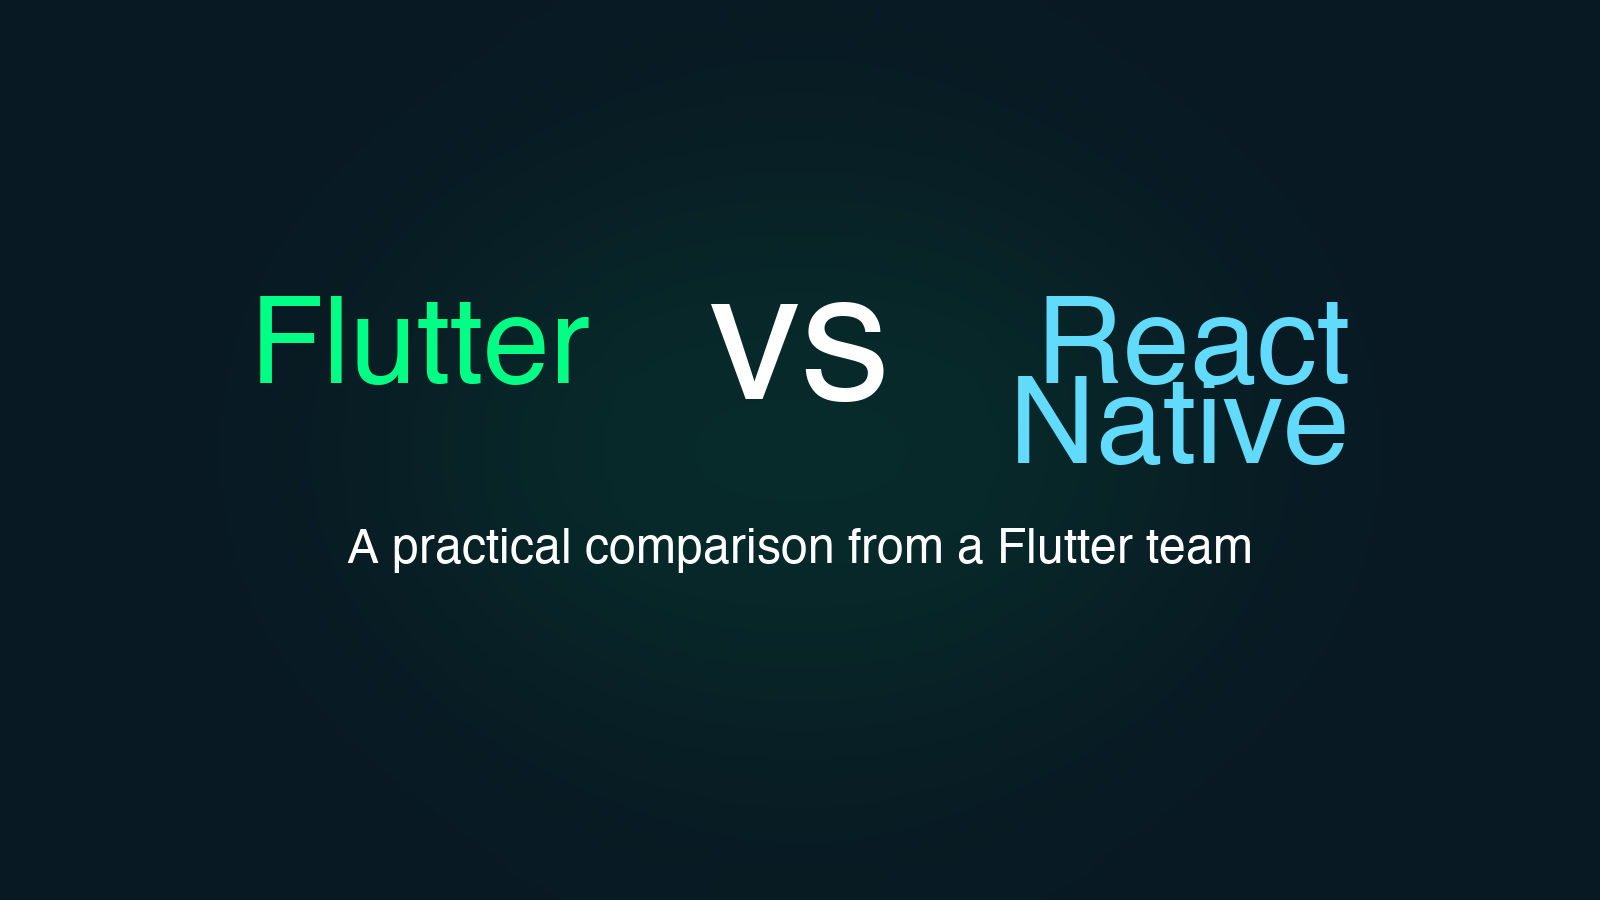
Flutter vs React Native: How We Choose (and Why We Picked Flutter)
A practical comparison of Flutter and React Native from a team that ships production apps. What actually matters when choosing a cross-platform framework.
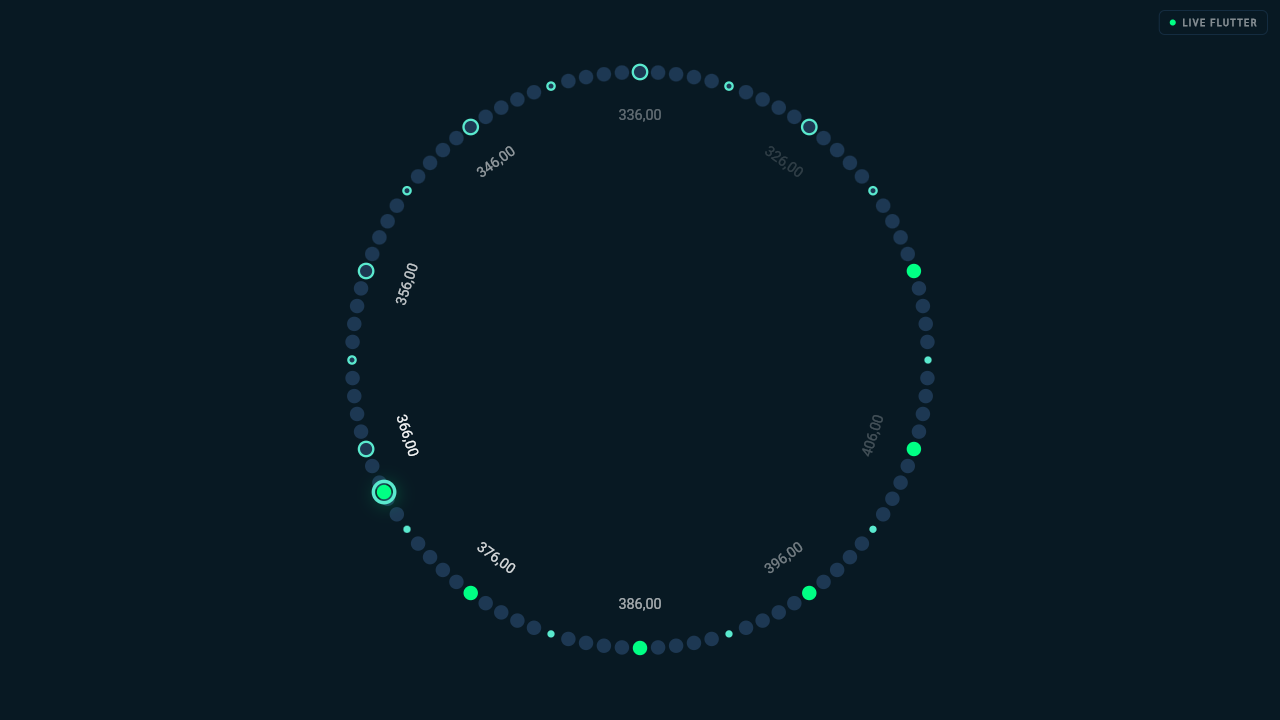
How We Took a Flutter Auction Clock from Stuttering to 60fps
A real-time auction clock in Flutter needed to go from functional to flawless. Here's how we redesigned the rendering architecture for 60fps smoothness and pixel-perfect bid accuracy.
AI and Software Craftsmanship: Why Quality Practices Matter More Than Ever
Exploring how AI magnifies existing development practices and why software craftsmanship principles are crucial for leveraging AI effectively.
Want to talk through an idea?
Our team is happy to discuss your project over a free 30-minute call. No pitch, just honest advice.